✨ Introduction #
Kaamfu’s screen capturing tools make it simple to share visual information instantly. Whether you’re documenting workflows, collaborating on tasks, or resolving issues, these tools ensure clarity and faster teamwork.
.
🎯 Why This Feature Matters #
Screen capturing provides a visual way to explain tasks, issues, or feedback, reducing misunderstandings and saving time. It was built to:
- Simplify collaboration by letting users show instead of tell.
- Improve productivity with built-in editing tools.
- Support remote teams with clear visual communication.
Together, these reasons make screen capturing an essential tool for everyday collaboration.
.
👤 Who Should Read This #
This feature is useful for all Kaamfu users who need to:
- Share task-related visuals.
- Document workflows.
- Provide feedback or report issues.
In short, anyone who collaborates visually will benefit from this feature.
.
📝 What This Guide Covers #
This guide explains how to:
- Access screen capturing tools in Kaamfu.
- Use the Kaamfu Screenshot tool.
- Use the Select Screenshot tool.
- Edit screenshots with built-in tool.
- Share captures with teammates.
By the end, you’ll be able to capture, edit, and share screens seamlessly.
.
📄 Feature Overview #
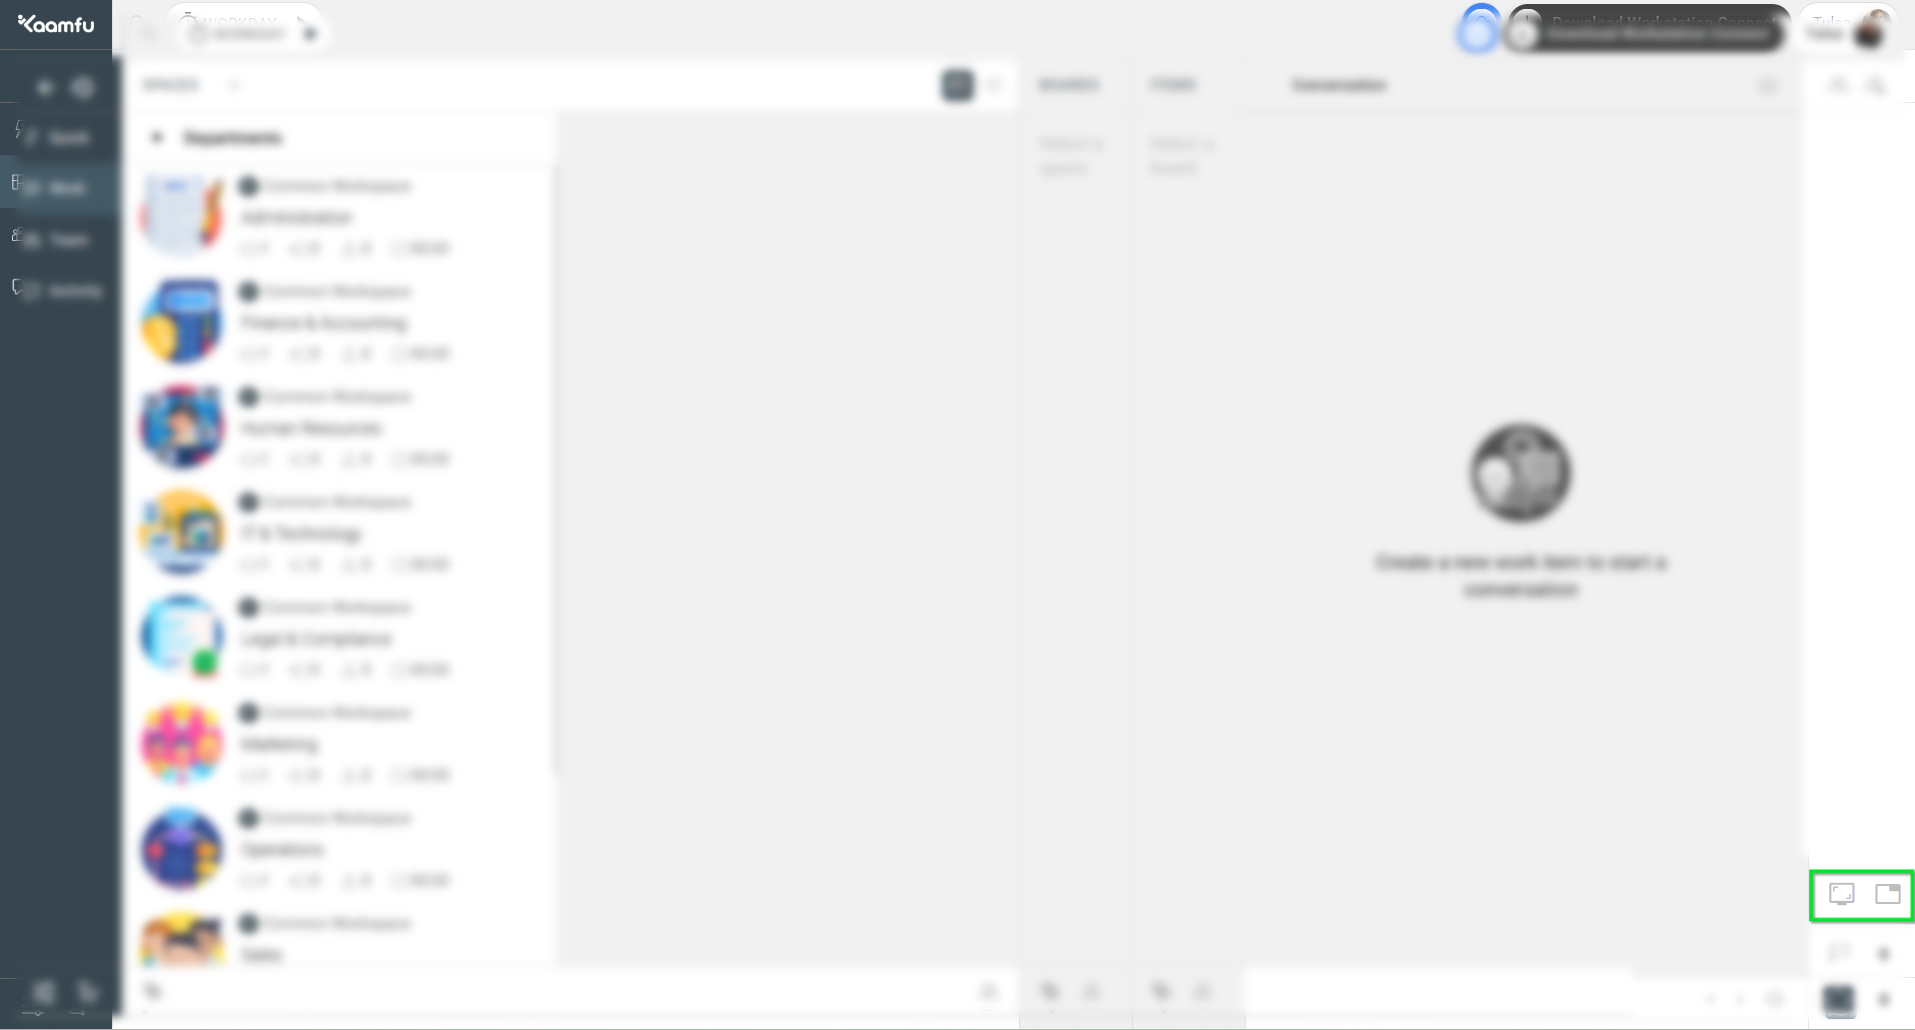
Kaamfu offers two screen capturing tools, located above the Activity Queue icon:
- Kaamfu Screenshot → Capture within Kaamfu’s workspace.
- Select Screenshot → Capture outside Kaamfu, including other tabs, apps, or the entire screen.
Both open in an editor where you can annotate, highlight, and share your captures. This flexibility ensures users can capture visuals from anywhere and keep communication sharp.
.
 .
.
💡 Key Benefits #
Screen capturing in Kaamfu helps streamline teamwork in several ways:
- Streamlined Collaboration → Share visuals instantly for faster understanding.
- Enhanced Productivity → Use built-in editing features without third-party tools.
- Unmatched Versatility → Capture both inside and outside Kaamfu.
Together, these benefits improve clarity, reduce back-and-forth communication, and speed up execution.
.
🛠️ Step-by-Step Instructions #
Follow these steps to capture and share screens in Kaamfu:
Step 1: Locate the Screen Capture Tools #
Go to the top bar above the Activity Queue icon. You’ll see:
- Kaamfu Screenshot
- Select Screenshot
Step 2.A: Use Kaamfu Screenshot (for workspace captures) #
- Click the Kaamfu Screenshot icon.
- Grant browser access when prompted → your Kaamfu workspace will be captured instantly.
- The capture opens in the editor for further adjustments.
.
 .
.
Step 2.B: Use Select Screenshot (for outside captures) #
- Click the Select Screenshot icon.
- In the pop-up, choose one of these:
- A specific browser tab
- A running application
- The entire screen
- Confirm → your capture opens in the editor.
.
 .
.
Step 3: Edit the Screenshot #
The built-in editor includes tools like:
- Select → Move or adjust elements.
- Draw / Type → Freehand drawing and adding text.
- Line / Arrow / Measure → Precise annotations.
- Rectangle / Highlight Pen → Emphasize important areas.
- Hide Box → Blur sensitive information.
- Caption → Add descriptive notes.
Top-left controls: Undo, Redo, Delete.
.
 .
.
Step 4: Share the Screenshot #
- Use the down-arrow to pick the conversation.
- Click the tick icon to share.
- Use the cross icon if you don’t want to share.
With these steps, you can capture, edit, and share visuals directly within your workflow.
.
 .
.
🔗 Related Resources #
Here are other resources you may find useful:
These related articles will help you extend collaboration beyond screen capturing by connecting visuals with conversations and tasks.