✨ Introduction #
Adding notes in Kaamfu lets you capture essential context directly where work happens — within Spaces, Boards, Items, or Conversations. It keeps updates, reminders, and decisions linked to the right place, eliminating scattered documents and external notepads.
.
🎯 Why This Feature Matters #
When you add notes directly in Kaamfu, you ensure that important details stay connected to your workflow. No need to switch tools or lose track of updates. Notes help teams keep communication and documentation aligned, in real time.
.
👤 Who Should Read This #
This article is useful for all Kaamfu users who need to document information alongside their daily work.
- Workspace Owners – for adding system-wide or project-level notes.
- Admins and Team Leads – for sharing important reminders or briefings.
- Workers – for personal notes, progress tracking, and task instructions.
Anyone who needs to keep context tied to work items will benefit from this feature.
.
📝 What This Guide Covers #
This guide explains how to add new notes to any object inside Kaamfu.
- Where you can add notes.
- How to open the Notes Panel.
- Writing and saving notes.
By the end, you’ll know exactly how to add and manage notes seamlessly.
.
📄 Feature Overview #
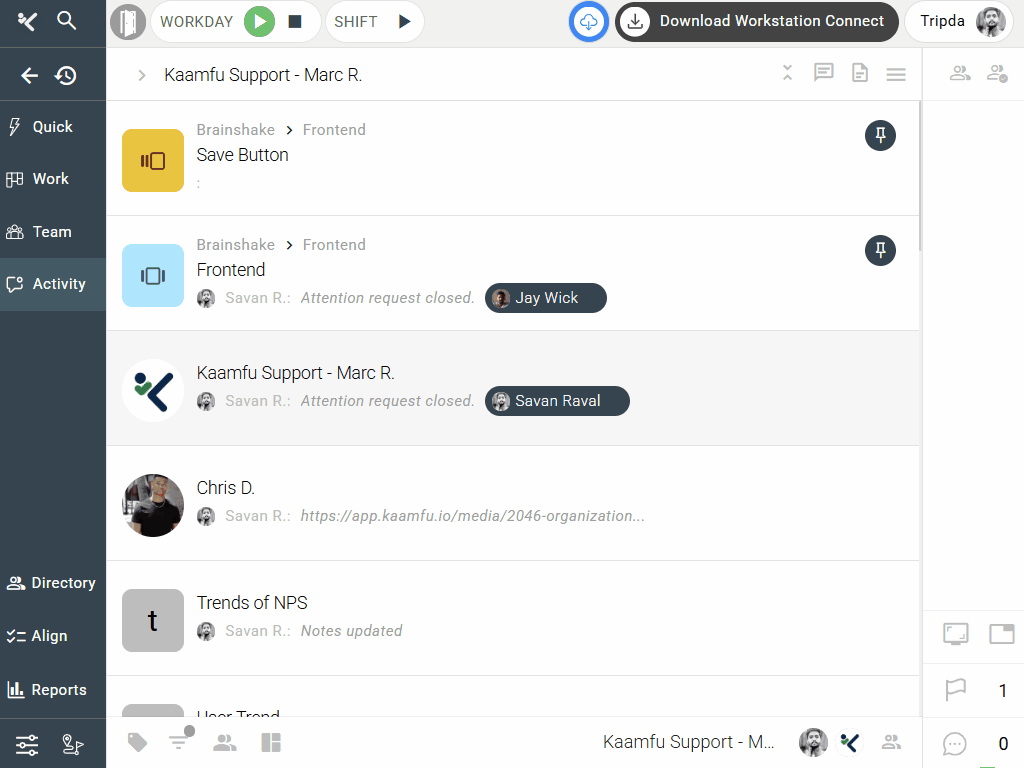
Every object in Kaamfu — whether it’s a Space, Board, Item, or relevant Group — has its own Notes section. The Notes Panel opens when you click the Notes icon, appearing on the right side of the workspace.
Here, you can type freely, structure your thoughts, and Kaamfu automatically saves your work.
.
🧭 How to Add Notes in Kaamfu #
Step 1: Locate the Notes Icon #
Hover over any object (Space, Board, Item, or relevant Group) and click the Notes icon that appears near its title or in its options pill.
Step 2: Open the Notes Panel #
The Notes Panel opens on the right-hand side of the workspace, displaying a text editor with a header bar for formatting options.
Step 3: Write Your Notes #
Click inside the editor area and begin typing your note. Kaamfu automatically saves your input as you write, so you never lose progress.
Step 4: Exit the Notes Panel #
Once done, click Back to Items in the header. Your notes stay attached to the same object and can be reopened anytime.
.
.
💡 Tips:
- You can add notes for multiple objects — each note is saved separately.
- Notes are visible only within the object they belong to.
- No “Save” button needed — everything saves automatically.
These tips help you confidently capture information across all workspace levels.
.
🔗 Related Resources #
Here are some useful follow-ups:
- How to Access the Notes
- Formatting Options in the Notes
- Using Notes and Conversations Together for Better Collaboration
These articles will help you get the most out of Kaamfu’s note-taking system.